Quickbooks
QuickBooks Extensions Overview
There has been a recent change to the QuickBooks Export screen within Extensions. We have now incorporated the ability to choose what version of Quickbooks to export for: Original (2018 or older) or 2019.
Going forward, all customers who receive an update and have QuickBooks Extension will need to be updated using the latest 3.90 Quickbooks Extension. This works with earlier versions of the software, such as 3.84 and 3.82.
After the 3.90 QuickBooks patch runs, you will need to go into the Extension module and show the customer the new screens and explain what has changed.
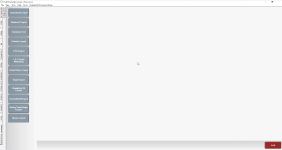
Navigate to Extensions
-
Go to the Extension module, and click the QuickBooks button of the data you want to export.
Note: This is what you just created in the extension installation and setup.
-
Next run the export, as described below.
QuickBooks 2019
Customers who upgrade or use QuickBooks 2019 desktop version must use the newer 3.90 QB extension file. It also matters what version of QB 2019 they are using as to what build the QB extension file needs to be put into place.
-
For customers who are using QuickBooks 2019 Pro Desktop version, they must use 3.90.6975.16353 QB extension file. (MEMO)
-
For customers who are using QuickBooks 2019 ProPlus Desktop version, they must use 3.90.7011.15797 or higher. (NAME)
Quickbook Export
The QuickBook Export has three tabs: Main, Settings, and GL Codes. Each tab is explained below.
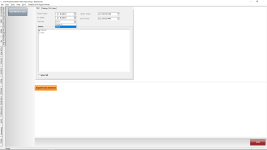
Step One: Main Tab
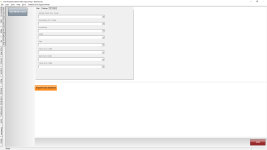
The Main tab (as shown below) is where the customer will select the from and to date range, start and end times, version (Original or 2019), and stores (if applicable).
Note: The version will hold once they export the first time.
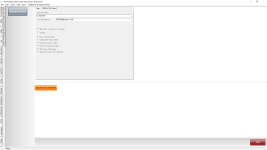
Step Two: Settings Tab
When Original is selected in the Main tab, the Settings tab will have all checkbox options that the original QuickBooks export screen had, as well as the export path and file name.
Note: The extension for the file name will stay the same, CSV or txt.
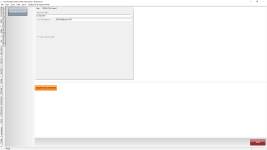
The Settings tab (as shown below), when 2019 is selected in the Version drop-down menu in the Main tab, will have only one checkbox option, the Use Actual Cash, and the export path and file name.
Note: The extension for the file name must be .iif. No other extension will be accepted by QuickBooks 2019.
Step Three: GL Codes Tab
The GL Codes tab (shown below) is the same no matter what version is selected in the Main tab. This is where the facility will select Global GL codes for Actual Cash, Rounding, Inventory, COGS, Tips, Tax 1, Tax2, and Tax3.
Step Four: Select the Export Gen Journal button

An Export Complete message displays in a pop-up box. Click OK. The data is processed and exported to the folder you selected in the Settings tab in step two above. You can now open the file in QuickBooks.
