Creating Quick Sale Buttons in POSExpress
Note: If you want to create Quick Sale buttons for your iPad running CPS Air v3.100+, go here>>
The Quick Sale buttons, also known as Hot Keys, Quick Keys, Quick-Sale keys or the Quick Sale menu, are keypad shortcuts for selecting popular items in the Sales and F&B screens. You can customize which products will appear as Quick Sale buttons (QSB), so that placing orders becomes easy and efficient. The color, background image, and the buttons can be customized. Every terminal can have their own unique buttons, but you can also copy them to other terminals once you create the Quick Sale buttons in POS Express, including your iPad running CPS Air.
To make Quick Sale buttons in POSExpress for the Sales screen
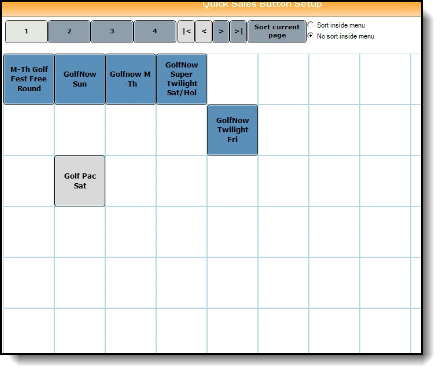
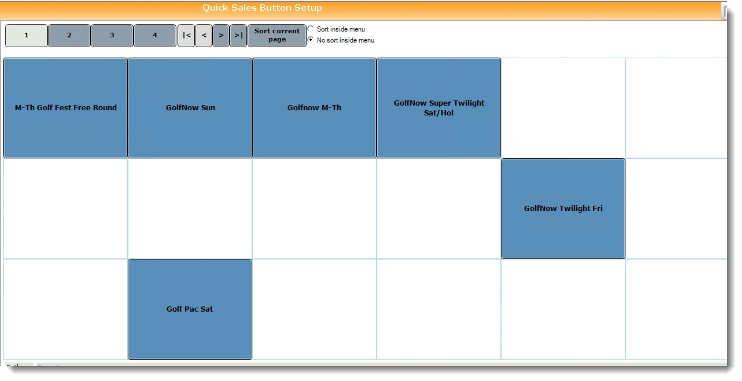
- Select Tools | Options | Sales Options | Quick Sales Button Setup. The Quick Sales Button Setup screen displays.
- From the Terminal menu, make sure you are working on the correct terminal. This field defaults to the terminal you are on right now. If you want to create QSB for another terminal, select that terminal to customize QSB for it.
Note: After you finish customizing the buttons, you can apply the settings to multiple terminals with the Copy By Terminal button. For more details on copying QSB, jump here>>
- In the left panel, search and locate the item for which you wish to make a button. You can filter by product name, product code or description. The search results display in the left panel below the search tool.


- Click the item to select it, and drag it to an empty square on the right. The square is how your button will display on the screen.
Tip You should aim to use the space in the Quick Sale area effectively. Avoid leaving any blank spaces.
Note: You can create a button without a product attached to it that can act as a category-type button, or you can add the product to it afterwards. See below for more details.

- At bottom of the screen, there is a tool box to add a Quick Sale button background image, change the foreground color or background color, or to change the size and style of the button font by doing the following:

-
Fore Color: Click to change the text color of the button.
-
Back Color: Click to change the background color of the button.
-
Label: Use this text box to change the button text.
-
Font and Font size: These fields allow you to change the text style and size.
-
Image: Select the ellipsis [...] button to navigate to an image on your computer to upload it. Note: The red x button deletes the image.
To see a video on this, jump here>>
- Select the Save button to keep your changes.
Note: As you edit the Quick Sale buttons, the Restore Quick Sale button contains the last five edits and can restore them as a time-saver, if needed.
To create a button or a page-category button
You can start a button without dragging it from the products list. You might do this for a button that needs the product added later or to create a category button that opens up to more buttons below it in order to organize your QSB.
To create a button then add a product to it
-
Make sure you are on the desired page at the top of the screen, then click the cell where you want to create the button.
-
Format the QSB: Add your labels, fore and back color, font type and size and image if needed.
-
In the Product Code or Product Description fields enter the respective information to look up a product. The product matches display in a drop-down list. Double-click the product from that list; it displays in the grid below.
Note: You can add more than one product to a button by repeating the above step.
-
Select Save. The button displays on the selected cell in the grid. Note: If you did not select a space in the grid, the button is saved in order from the top-left space and added to right of that.
To create a category-button that is used to access to more buttons
-
Make sure you are on the desired page at the top of the screen, then click the cell where you want to create the button.
-
Format the QSB: Add your labels, fore and back color, font type and size and image if needed.
-
Select Save. The button displays on the selected cell in the grid.
Note: If you did not select a space in the grid, the button is saved in order from the top-left space and added to right of that.
-
Select the new button that will become your category button, then select Add Sub Items. A new blank displays which you can add the QSB for the category button you just created.
-
Now repeat the steps above to create buttons or more category buttons as needed.
To copy Quick Sale buttons to another terminal
When you are ready to apply the Quick Sale settings to other terminals, you may copy the set up, so you do not need to set up each terminal individually.
To see a video of this, click here>>
Note: You can do this on any terminal. You do not need to be at the terminal that needs the QS buttons.
-
To clone the buttons, go to the Quick Sales Button Setup screen.
-
Click the Copy Terminal button at the bottom left of the screen. The Copy Quick Sale button window displays.
-
On the left, select Copy From Terminal on the terminal you previously customized.
-
On the right, select the terminal(s) that you wish to copy to.
-
Select the Continue button. A confirmation screen displays.
-
Click Yes to confirm but making sure that you have selected the correct terminal.
Button Layout
The Button Layout button allows you to pick a Dynamic or Fixed layout.
-
From the QSB Setup screen, select the Button Layout button.

The Quick Sales Button Layout pop-up displays.
-
Select one of the following radio buttons based on your needs:
|
Dynamic will display as many buttons as can fit and may result in a small button size.
|
Fixed allows you to set a specific number of rows and columns. Button size will be large and easy to read with fewer columns and rows.
|
-
If you selected Fixed, you then enter how many buttons across (Rows) and down (Column) you would like to display and click OK.
Tip: The ideal fixed button layout for the iPad running CPS Air is five by five. To learn more about creating QSB for the iPad, jump here>>
Related Topics
-
To learn how to create F&B QSB, jump here>>
To learn how to create QSB for CPS Air, jump here>>
-
To learn how to create QSB for CPS Air version 3.100+, jump here>>
-
Updating QSB for the Sales screen in POSExpress, jump here>>
-
Updating QSB for the F&B in POSExpress, jump here>>