Adding custom gratuity and tip labels on receipts
If you would like to add a personalized label on your receipts using CPS Air, you will need to set it up in the Terminal Settings screen of the Reference Table in CPS in the iOS Settings tab.
To set up in CPS
-
In Tools | Options, go to Reference Tables | Terminal Information. The Terminal Information screen displays to the right with a list of terminals you have set up. If you are setting up a terminal for the first time or you need your iPad set up as a terminal, contact CPS.
-
Double-click the terminal set up for your iPad using CPS Air. The terminal information for your iPad displays under the Terminal Settings tab with an iOS Settings tab to the right of that. What iOS Setting tab?

-
Click the iOS Setting tab to the right of the Terminal Settings tab at the top of the screen. The iOS settings display.
-
In the receipt section, enter the label you want to display for the tip or gratuity in the Custom Tip Description on Receipt or Custom Gratuity Description on Receipt field respectively.
-
Click Save.
-
Reconnect the iPad.
-
Finalize a sale. The Pay screen displays.
-
Enter the amount(s) and select Pay. The receipt options screen displays.
-
Do one of the following:
- Select No Receipt to go back to the table layout.
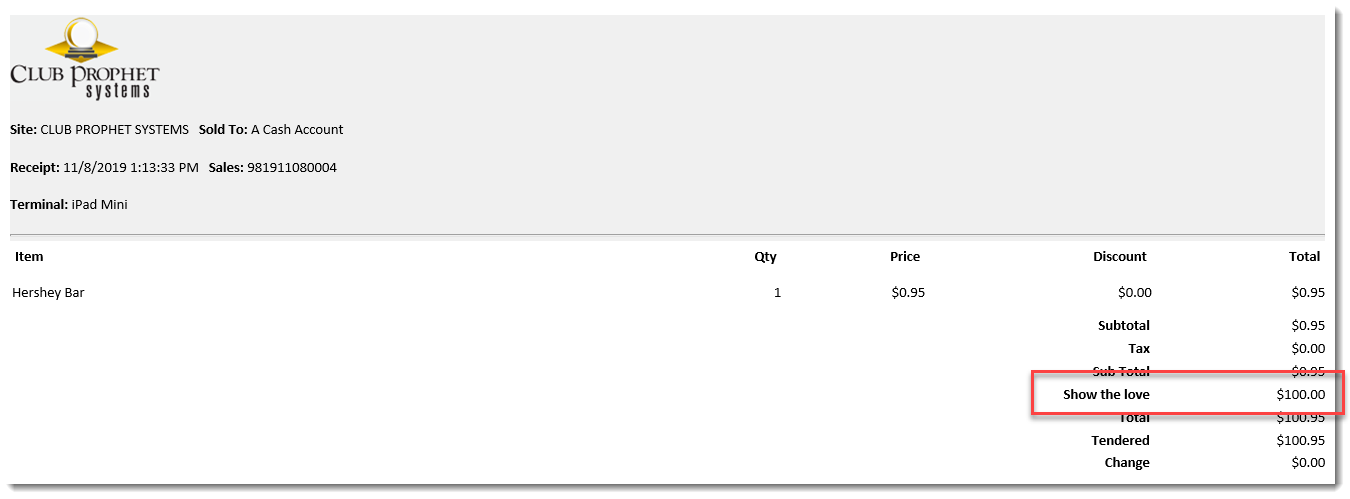
- Select Print Receipt to print the receipt. The printed receipt from the CPS Air app will display the custom label that you entered.


-
Enter an email address in the field at the top of the screen then select Send on iPad’s keyboard or select Email Receipt. The email is sent to the address you entered.
Note: To set up CPS Air to email a receipt from the iPad, the CPS Air Receipt Email Template must be selected in the iOS Terminal Settings from the Email Receipt drop-down field.
