Checking in golfers for two different courses
Overview
As of version 3.92, for golf courses that have 36 holes or two courses, a customer can now pay for both rounds before tee off in one sales transaction.
Just as you can select multiple golfers on one course by using the CTRL key on your keyboard, you can now select multiple tee times in two different courses.
To set up for checking in on two courses
-
1. Go to Starter Hut.
-
2. Select Admin then Settings. A list of options displays on the left side under Settings.
-
3. Scroll down the list and select Terminal Options. The Manage Options screen displays to the right.
-
4. Scroll down this screen and select the Enable Check In Queue checkbox.

-
5. Scroll down some more and select Save.
-
6. Then select Exit. Next time you check in a golfer that wants to check in two different courses on two different times, you can.

To check in two different times on two different courses
-
1. Go to Starter Hut.
-
2. Select a course from the left-hand side.
-
3. Select a tee time(s) from the middle of the screen and then Book a Tee Time. The lookup/reserve screen displays.
-
4. Look up and enter the name of the golfer.
-
5. Click Reserve.
-
6. Select Add to Check In Queue to the far right of the screen. A message displays indicated that your selections have been added. A message displays stating that it has been added to the queue.
-
7. Select the other course from the left-hand side.
-
8. Select a tee time(s) from this course’s tee sheet and then select Book a Tee Time.
-
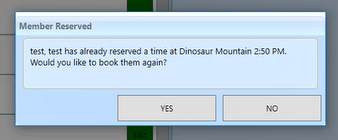
9. Look up and enter the same name as the previous golfer and click Reserve. A message displays asking if you’d like to book them again.
-
10. Select Yes.
-
11. Select Add to Check In Queue to the far right of the screen. A message displays indicated that your selections have been added.
-
12. Select OK. This adds the golfers to the Check In Queue; anyone in this queue will show up in the Sales screen once you click Check In Queue in the next step.
-
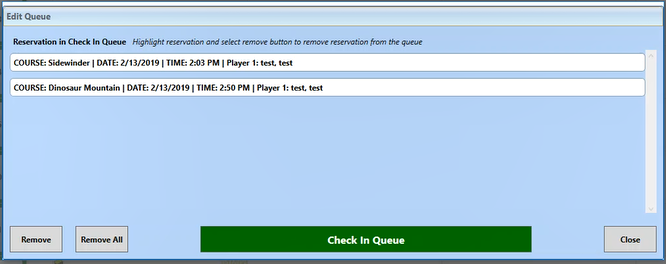
13. Select Check In Queue to the far right below the Add to Check In Queue button. An Edit Queue pop-up screen displays.
-
14. Click Check in Queue at the bottom of this screen. The Sales screen displays.
Note: You can select Remove All or just one selected tee time with the Remove button in this screen.
-
15. Finalize the sale.
To see a video of the process, click here>>